In this blog post, we will explore how to write prompts that produce stunning cinematic images with Midjourney. We will build a single prompt with various cinematic elements, showcasing their effects along the way. Our example prompt will have a 16:9 aspect ratio, and to minimize variation, we have locked in a seed. Let's dive in!
Step 1: Start with a Basic Prompt
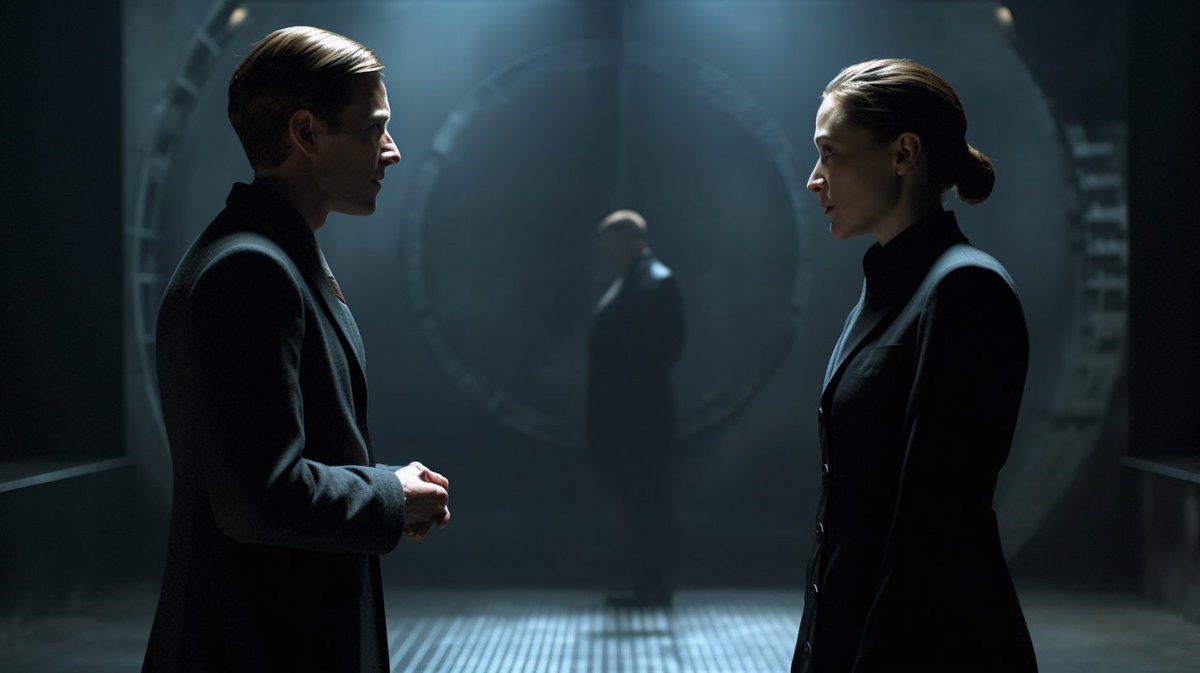
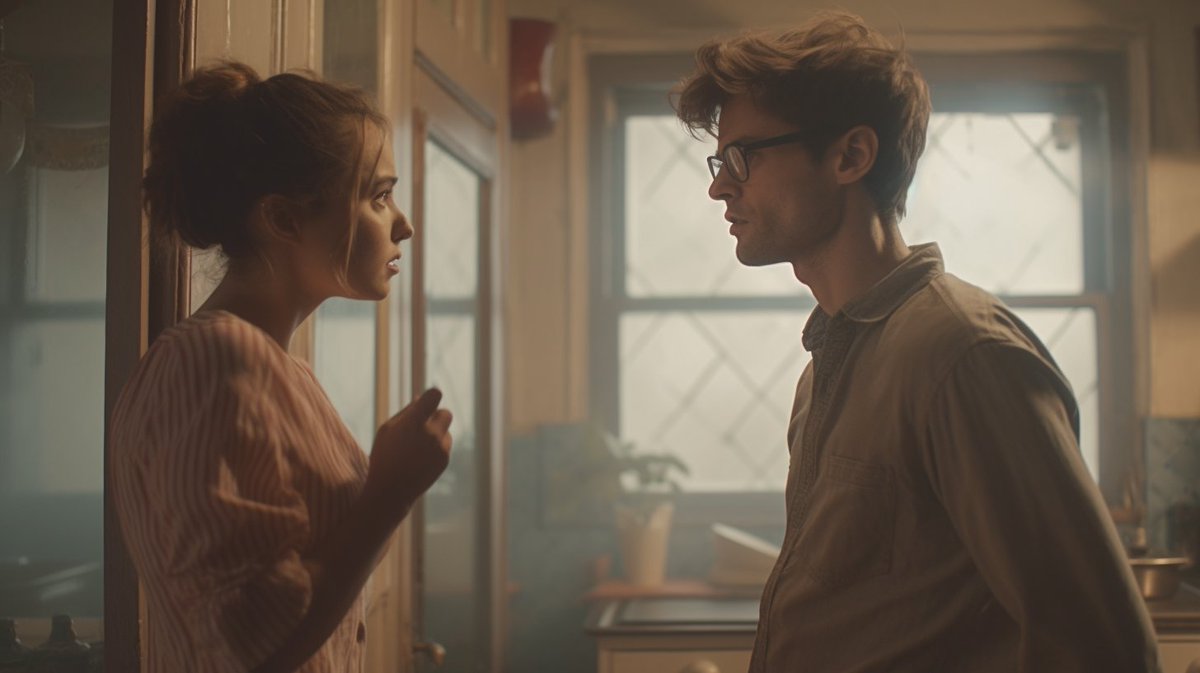
Begin with a simple prompt like "a film still of [characters doing something]". For example:
a film still of two people having an argument --ar 16:9 --seed X

Step 2: Choose the Film Type
Add the type of film to your prompt. Some options include:
- 16mm
- 35mm
- 70mm
- prores
- Super 8mm
- 8mm
- 4k resolution
- 28mm
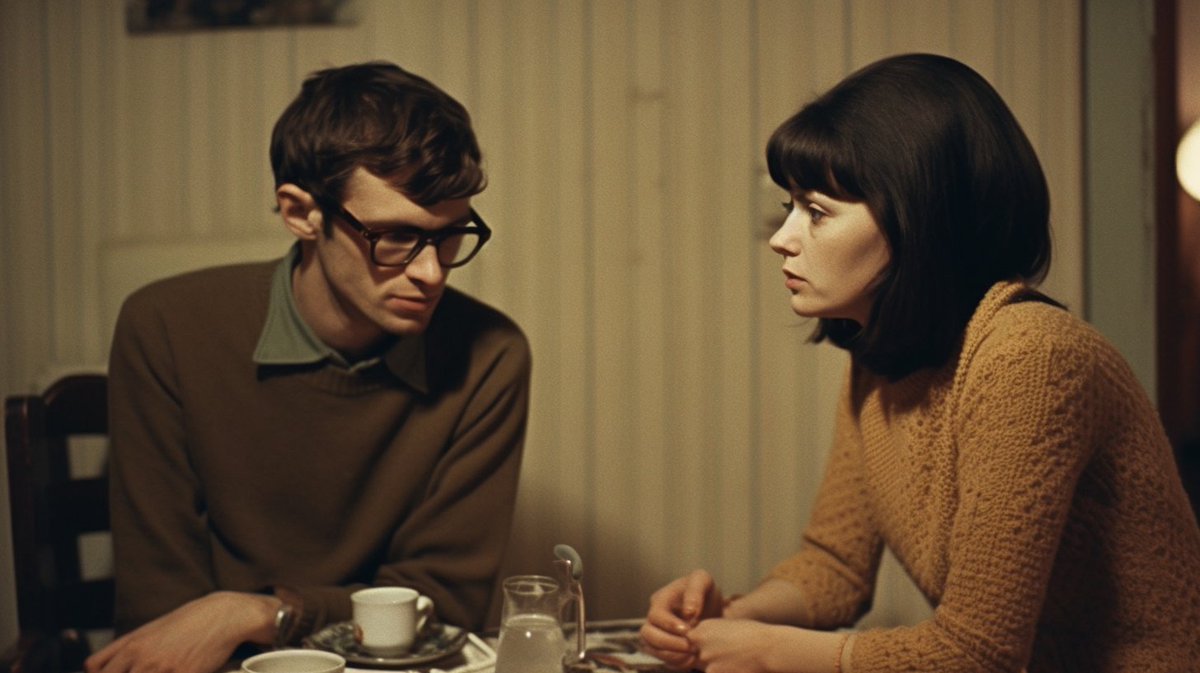
For our example, let's go with 35mm:
a film still of two people having an argument, 35mm --ar 16:9 --seed X
Step 3: Select the Shot Type
Next, add the type of shot you're after. Some examples include:
- Aerial shot
- Close-up shot
- Crowd shot
- Establishing shot
- Extreme close-up
- Low angle shot
- Over-the-shoulder shot
- Handheld shot
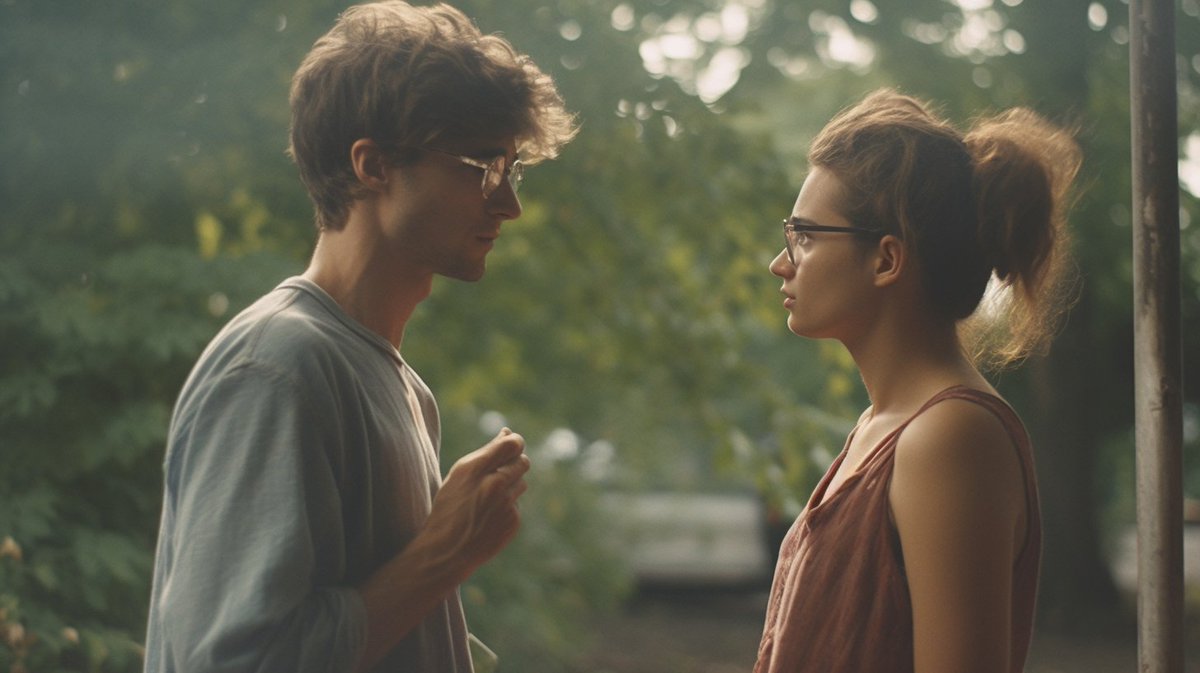
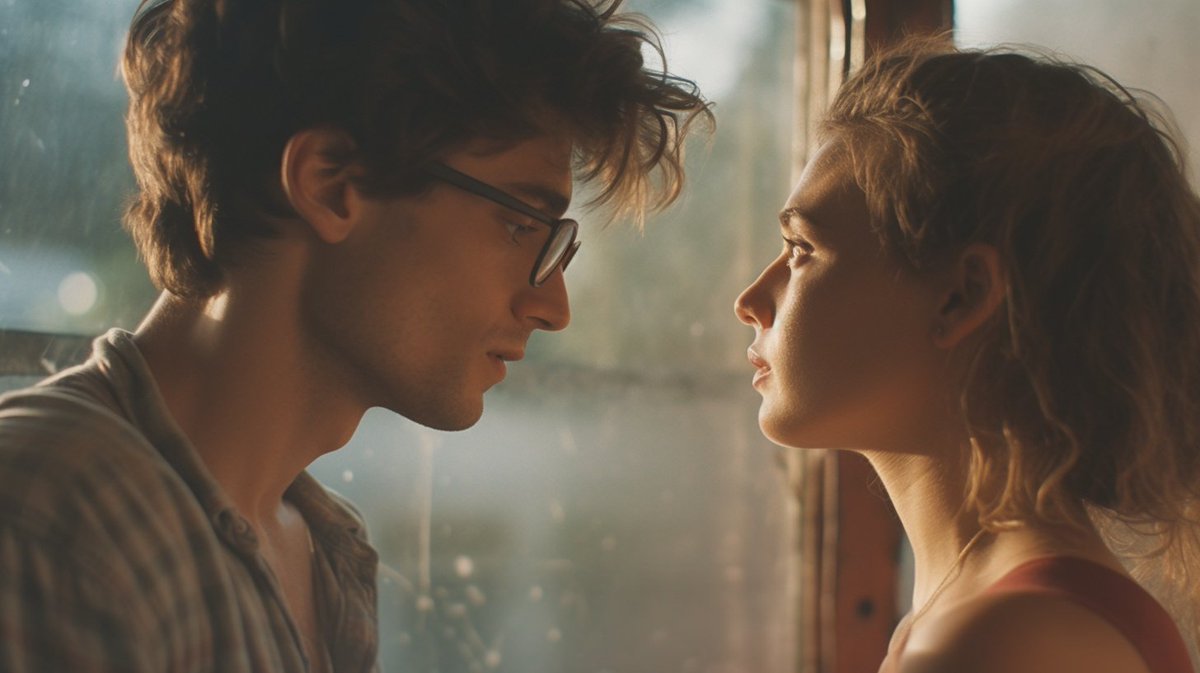
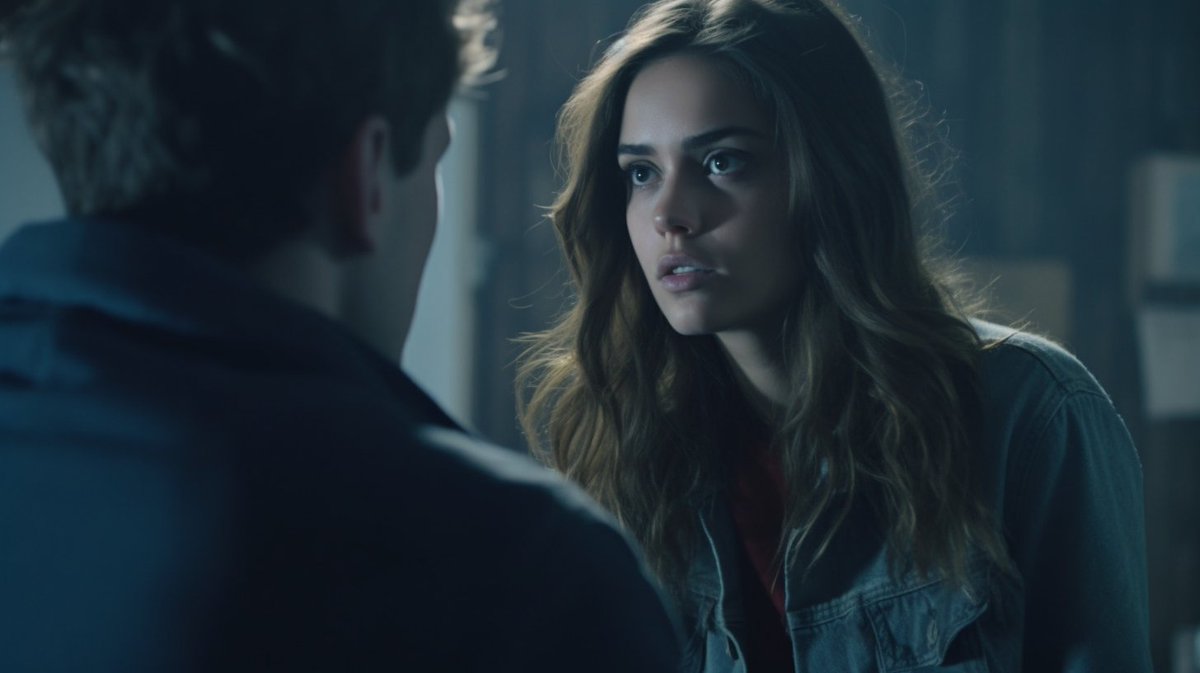
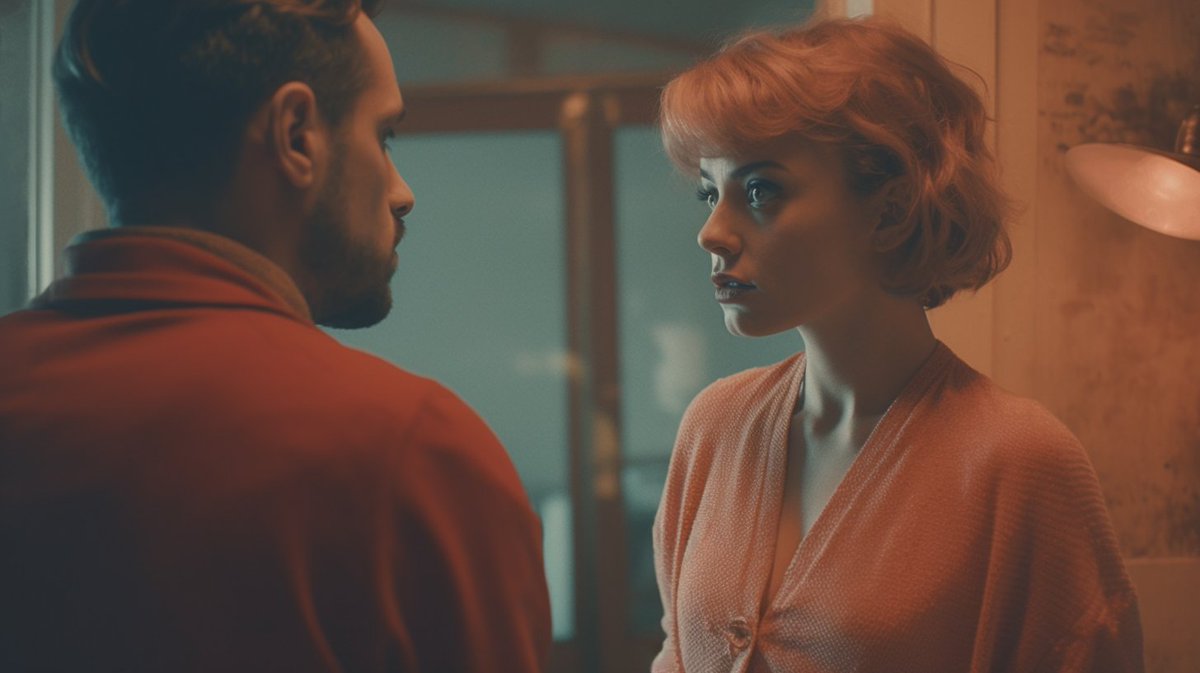
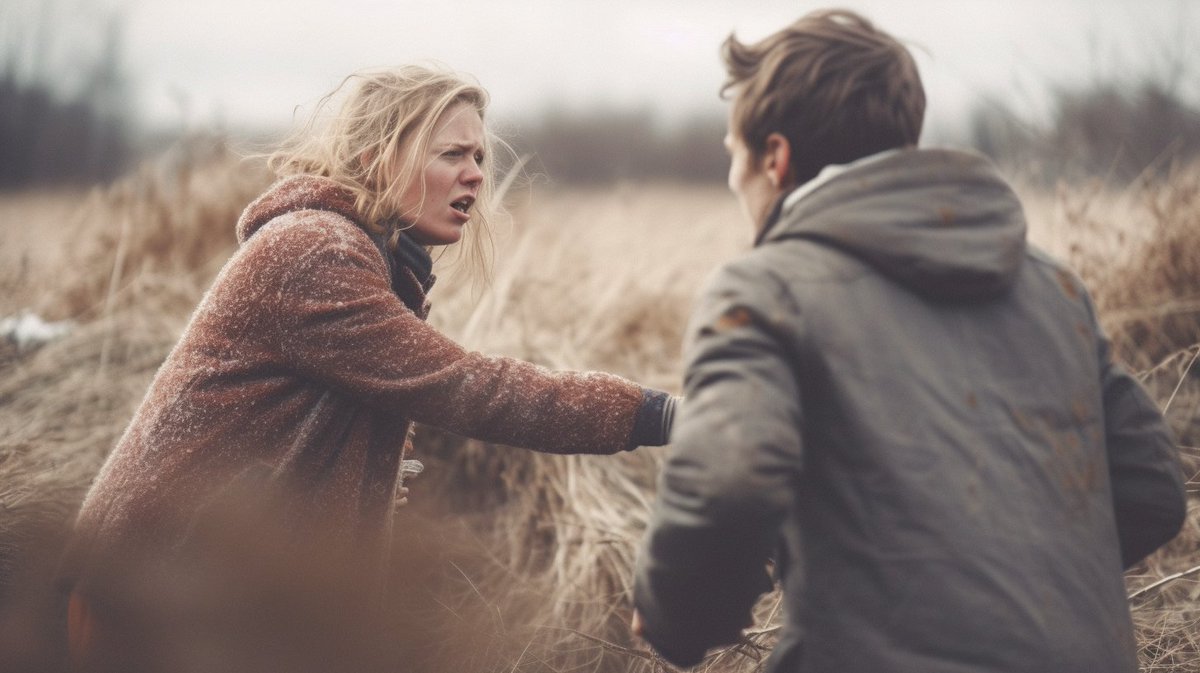
Continuing with our example, let's choose an over-the-shoulder shot:
a film still of two people having an argument, 35mm, over-the-shoulder shot --ar 16:9 --seed X

Step 4: Add Color Grading
Choose a color grading style to enhance the image. Options include:
- cool-toned color grading
- pastel color grading
- bright color grading
- vibrant color grading
- muted color grading
- neon color grading
- warm color grading
- duotone color grading
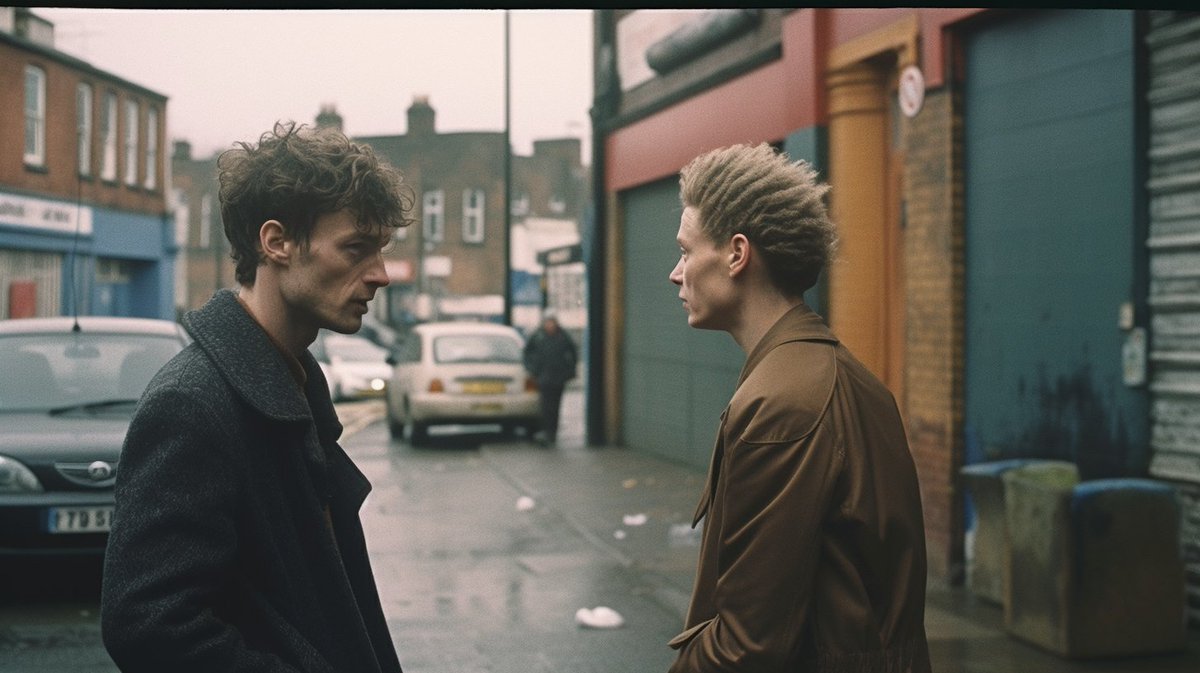
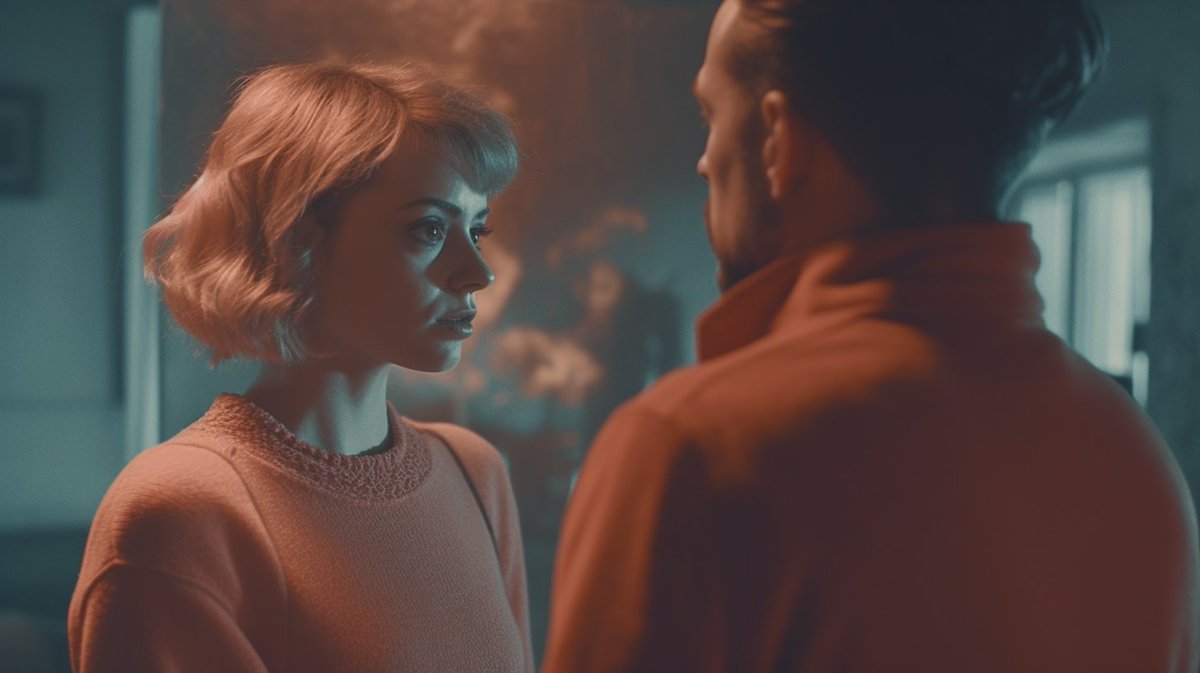
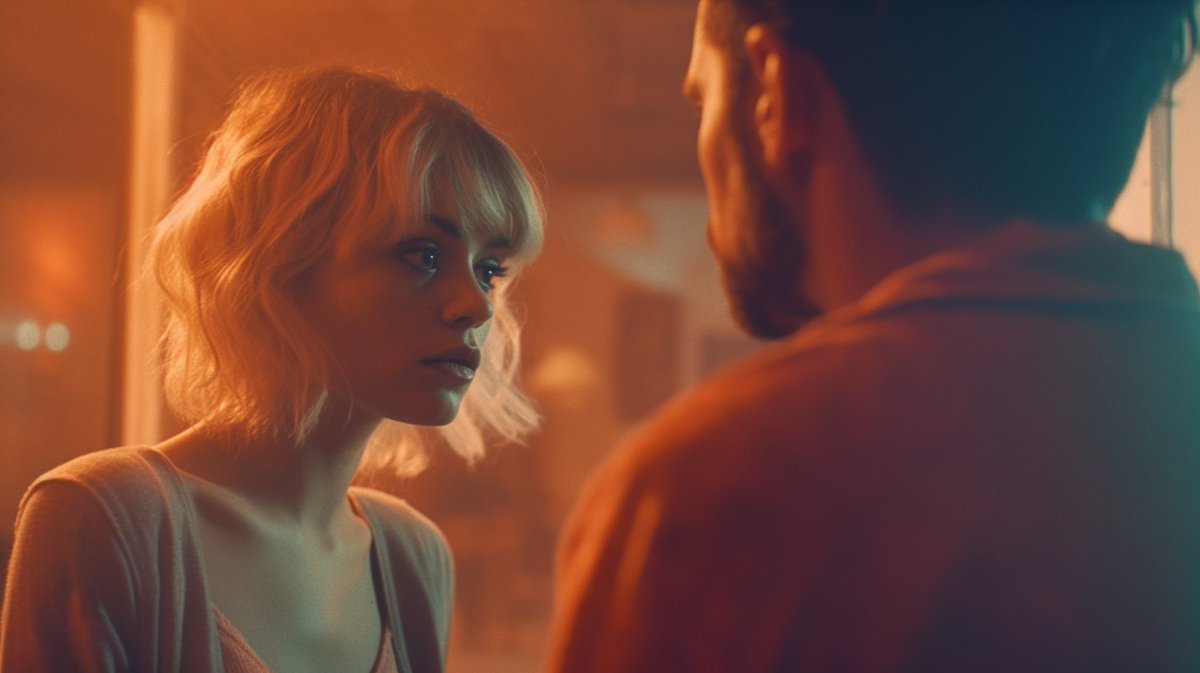
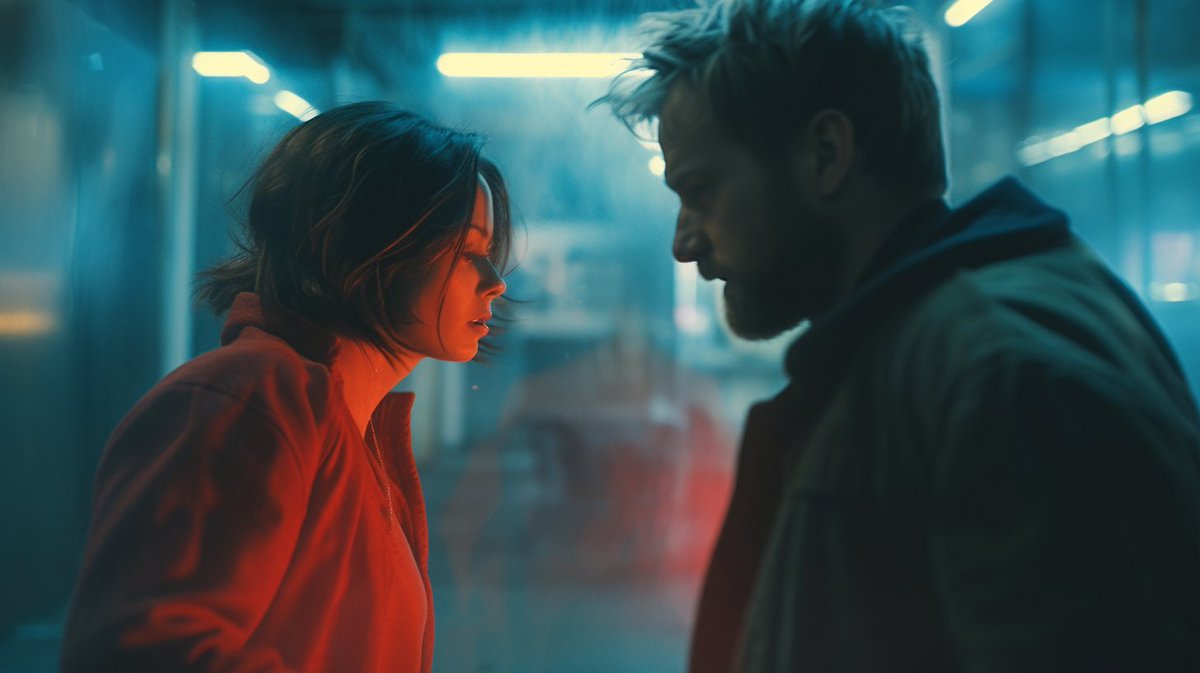
For our example , let's go with duotone color grading:
a film still of two people having an argument, 35mm, over-the-shoulder shot, duotone color grading --ar 16:9 --seed X


Step 5: Apply Cinematic Effects
Add cinematic effect keywords to enhance the image further. You can stack these, too. Some examples include:
- cgi
- chromatic aberrations
- cinemascope
- light leaks
- bokeh
- depth of field
- rear projection
- starbursts
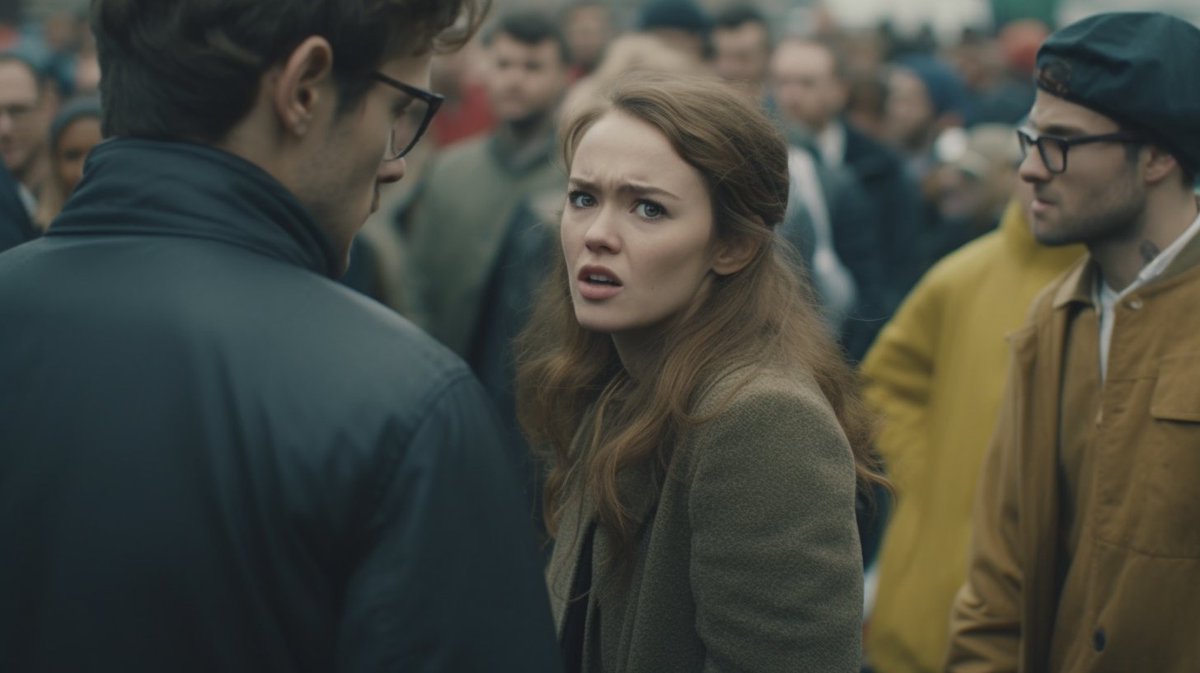
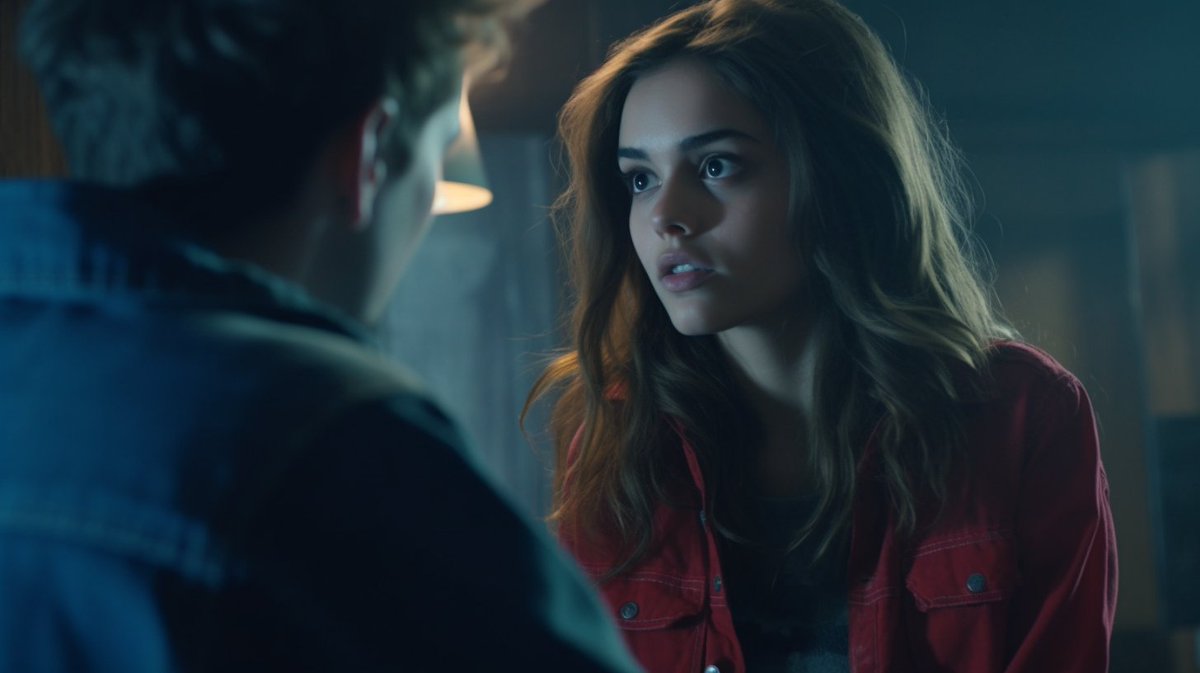
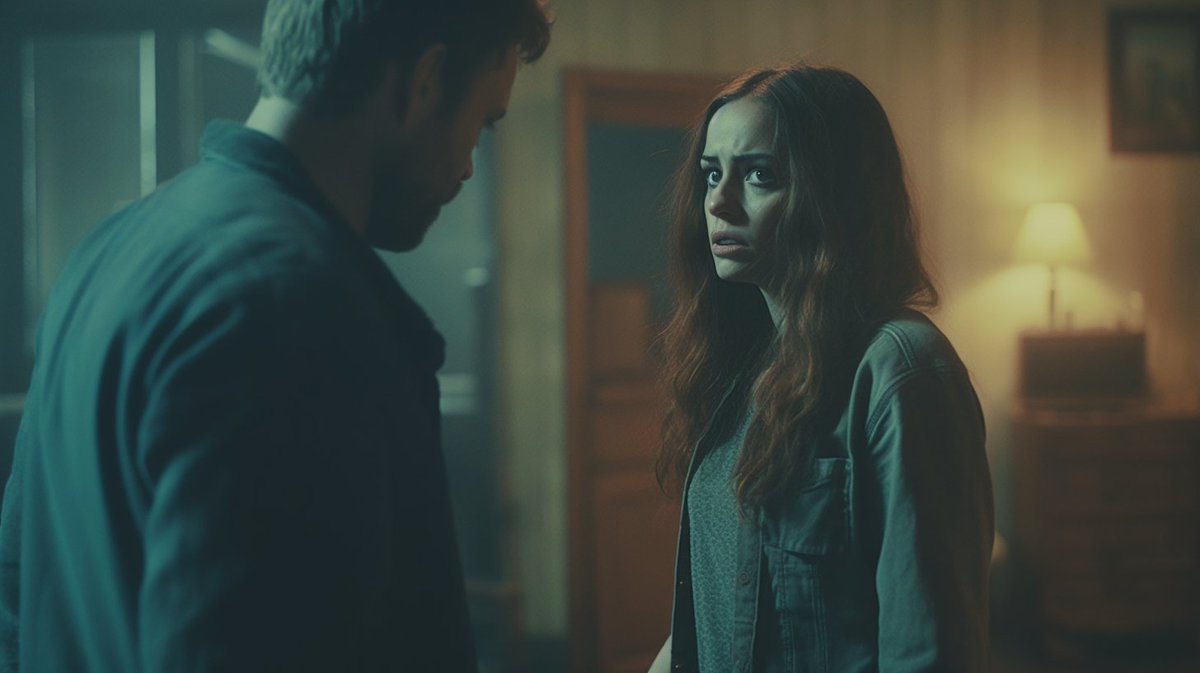
Continuing with our example, let's add motion blur:
a film still of two people having an argument, 35mm, over-the-shoulder shot, duotone color grading, motion blur --ar 16:9 --seed X
Step 6: Introduce a Movie Genre
Add a movie genre to further define the image. Some options include:
- adventure
- b-horror
- epic fantasy
- film noir
- horror
- indie
- western
- thriller
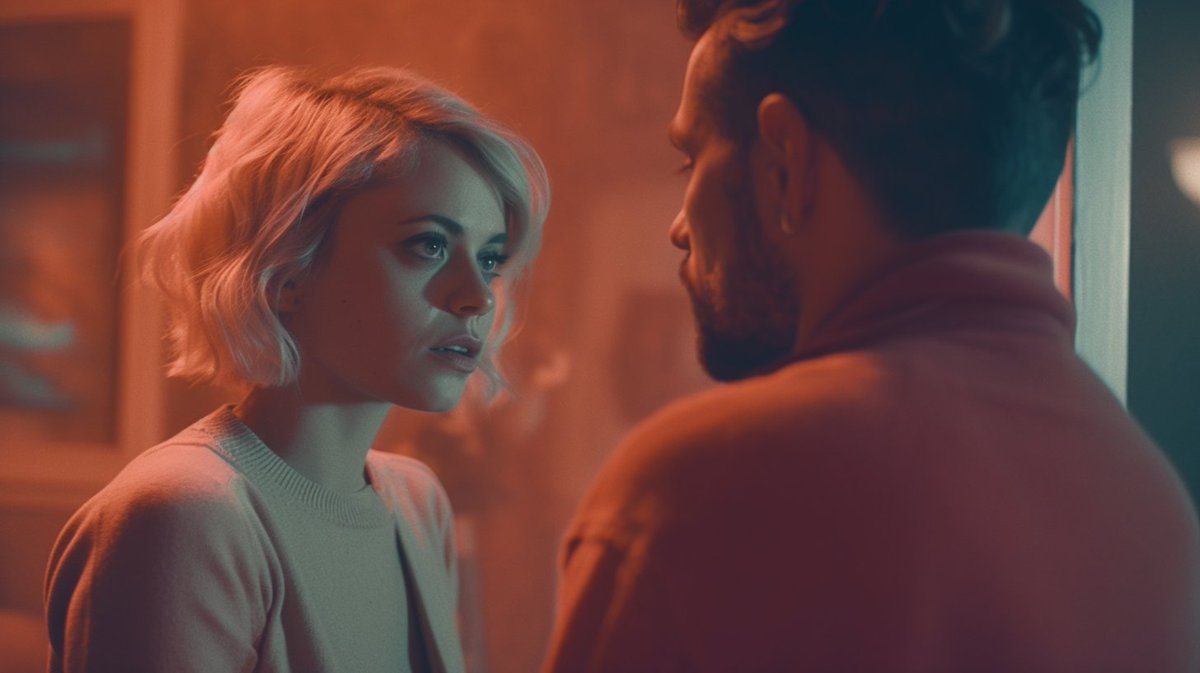
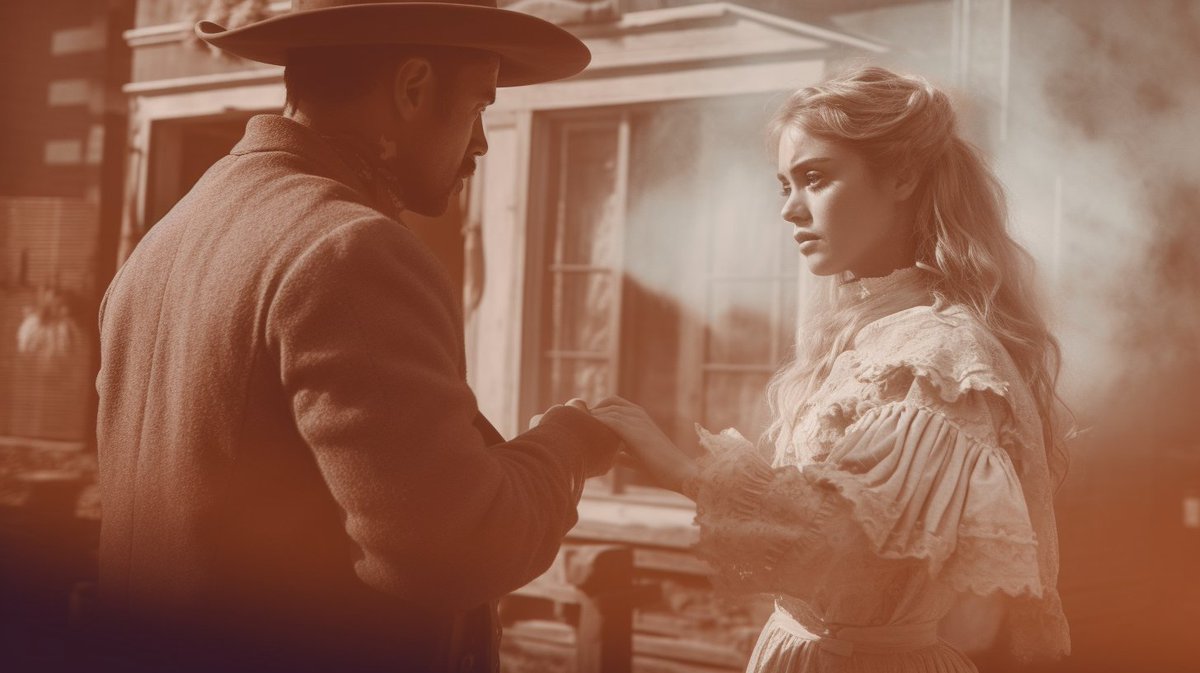
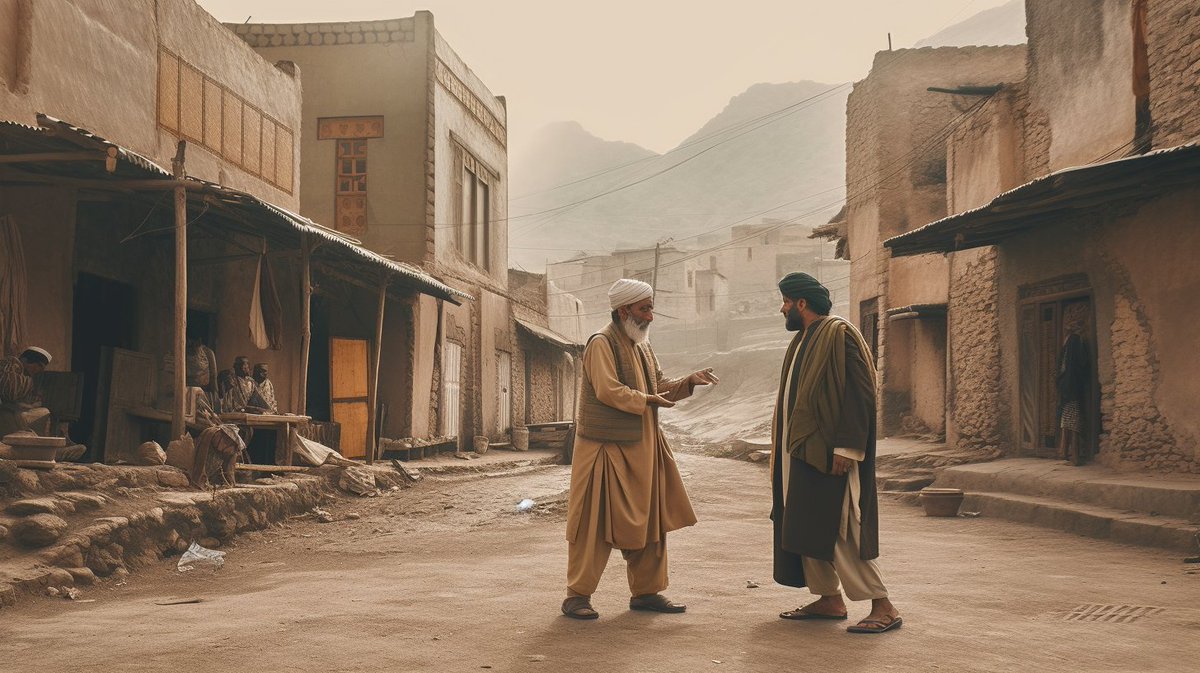
For our example, let's choose adventure:
a film still of two people having an argument, 35mm, over-the-shoulder shot, duotone color grading, motion blur, adventure --ar 16:9 --seed X

Step 7: Add a Location
Introduce a city, country, or region to change the feel of the scene. Some examples include:
- Vietnam
- Germany
- Pakistan
- Nigeria
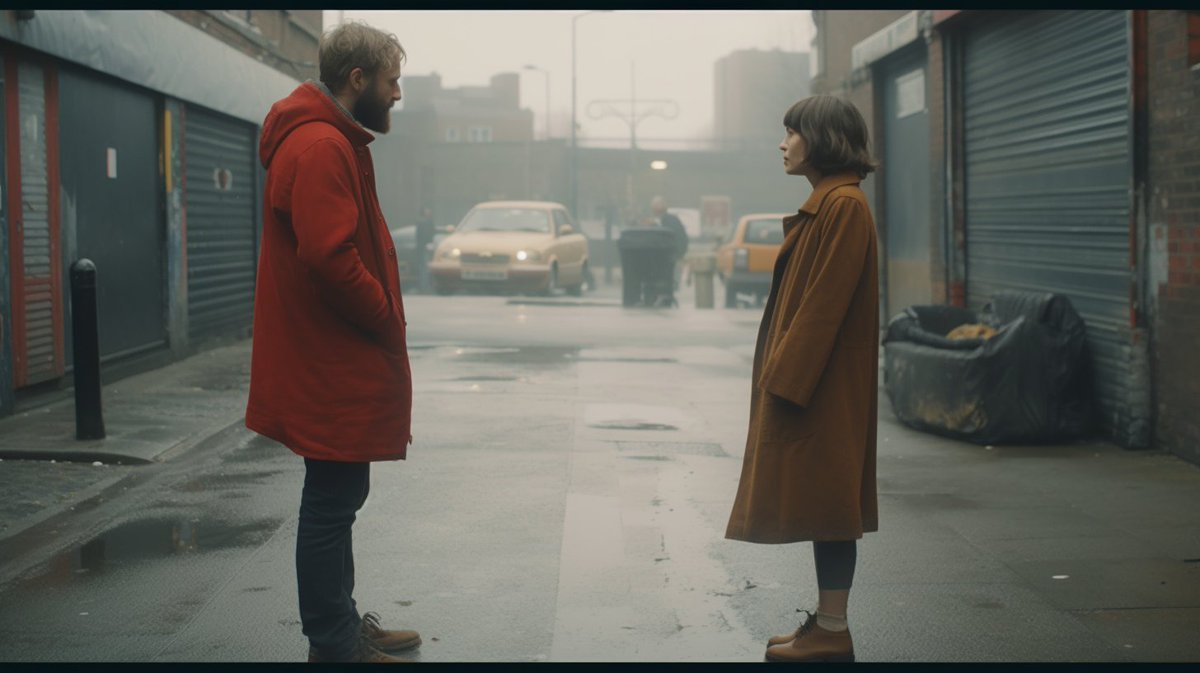
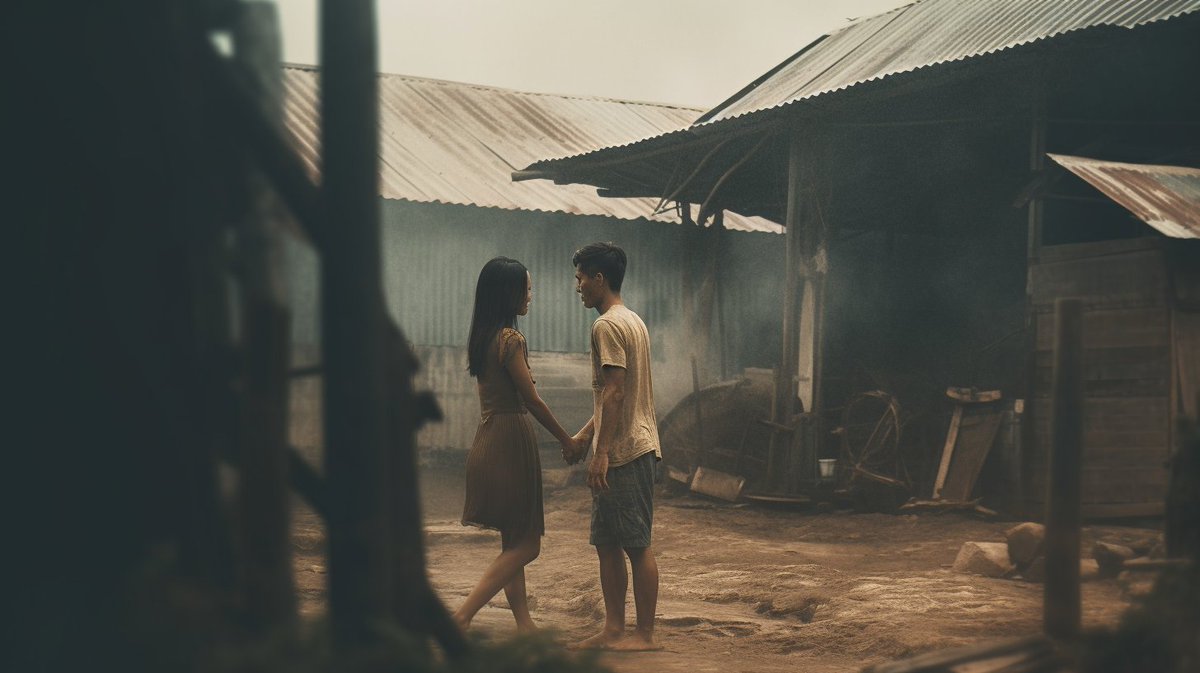
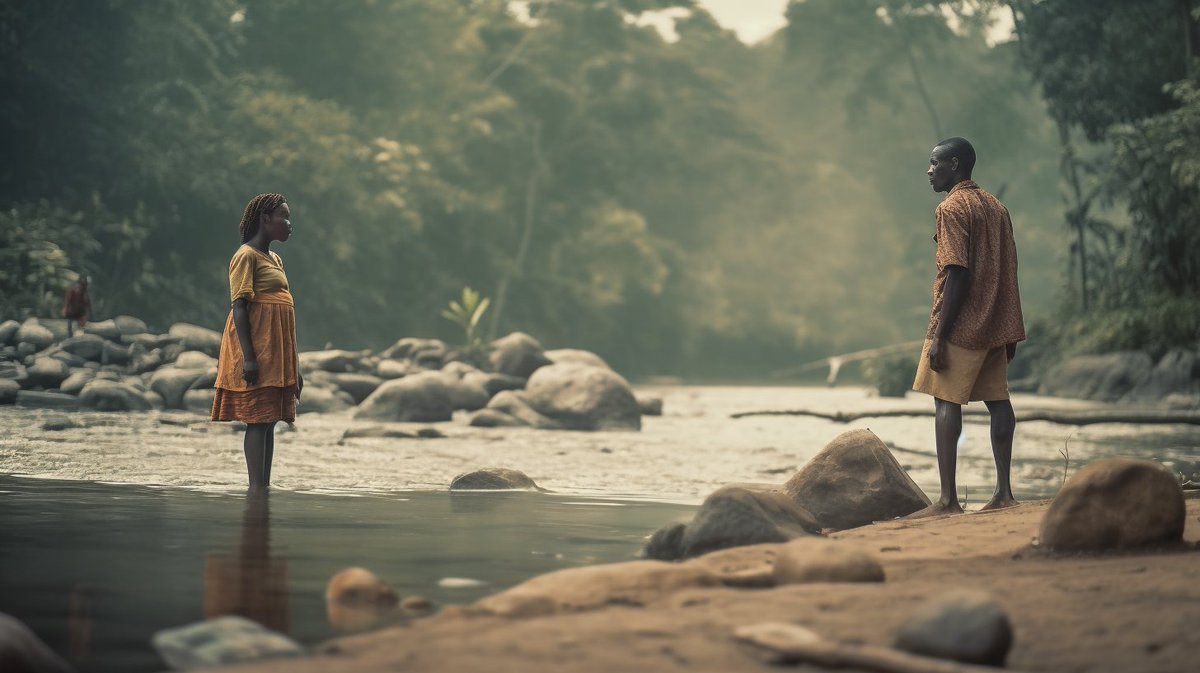
For our final example, let's add Nigeria:
a film still of two people having an argument, 35mm, over-the-shoulder shot, duotone color grading, motion blur, adventure, Nigeria --ar 16:9 --seed X
Step 8: Iterate and Experiment
Once you have your base prompt, iterate the elements and experiment with different combinations. This will help you achieve the desired effect and create a unique, captivating cinematic image.
With these steps, you can create compelling prompts to generate visually stunning cinematic images. Remember to experiment with different elements and see how they affect the final output.
Content was based on this TwitterThread
Saved you some valuable time?
Buy me a drink 🍺 to keep me motivated to create free content like this!